


Learning how to start jump rope after 50 is mostly about protecting your joints from day one. The good news is that a careful start is simple. Soft landings, a kind surface, and short sets do most of the work. Get those right and the rope rewards you for years.
This guide sits inside our wider resource on jump rope for menopause. It assumes you have already thought about whether impact suits your body. If you have not, that step comes first, and we point you to it below.
A quick note before we begin. This article is educational and is not medical advice. If you have a bone or joint condition, please read the safety section first and speak to a professional.
What You'll Learn
→ Where to begin if you are nervous about your knees or your bones → Why jumping rope can be gentler on joints than you expect after 50 → How to set up your surface, shoes, and warm-up before the first jump → Which landing technique keeps impact low and controlled → Choosing a rope that is forgiving for a beginner → A simple first-week jump rope plan that builds the habit
Start With the Safety Question, Not the Rope
Before you buy anything, answer one question. Is impact exercise right for your body right now? For most active women over 50, the answer is yes, with a gentle start. For some, it is not, at least not yet.
You should get clearance first if you have diagnosed osteoporosis or osteopenia. The same applies after any fracture, or if you have pelvic-floor symptoms or poor balance. Our full eligibility guide explains who should and should not jump, in plain terms. Read whether jump rope is safe during menopause before you spend a cent.
This is not a hurdle. It is how you build on solid ground. Once you know impact suits you, the rest of this guide is yours to use.
Short answer: Confirm that impact exercise suits your body before you start, especially if you have a bone or joint condition.
Why it matters: The right impact strengthens healthy bone, while the wrong dose can stress a fragile joint or skeleton. Knowing your green light removes the fear and the risk.
Best next step: Spend five minutes with our jump rope safety guide for menopause, then come back here to set up.
Why Your Joints Need a Smarter Start After 50

Your joints are not fragile at 50. They are simply less forgiving of bad habits than they were at 25. Tendons lose some elasticity with age, and oestrogen decline can affect connective tissue. A smart start respects that, and then builds.
Here is the part that surprises people. Done well, jump rope spreads each landing across both legs at once. That splits the force, rather than driving it through one knee at a time. Running, by contrast, lands your full weight on a single leg with every stride.
Research using motion analysis suggests good jump rope technique produces lower joint loading than running. The key phrase is good technique. Flat-footed landings, locked knees, and high bouncy hops undo that advantage fast.
There is a bone benefit too. The Royal Osteoporosis Society notes that bones stay strong when you give them work to do. A single skip counts as one useful impact through the skeleton.
The cardio side is efficient as well. Research has shown jump rope can deliver cardiovascular gains in a fraction of the time of jogging. You do not need long sessions to feel the effect.
So the goal after 50 is not to jump harder. It is to jump smarter, with low hops and soft feet. You can read how the impact levels compare in our guide to high-impact versus low-impact exercise for bones.
Short answer: With good technique, jump rope can load your bones helpfully while keeping per-knee impact lower than running.
Why it matters: The benefit and the risk both live in your technique. Master soft, low landings and you get the upside without the joint cost.
Best next step: Build coordination and steadiness alongside impact using our guide to balance and bone health after 50.
Six Steps to Start Without Hurting Your Joints
The setup matters more than the workout in your first weeks. Get these six things right and most joint problems never appear.
1. Fix your surface
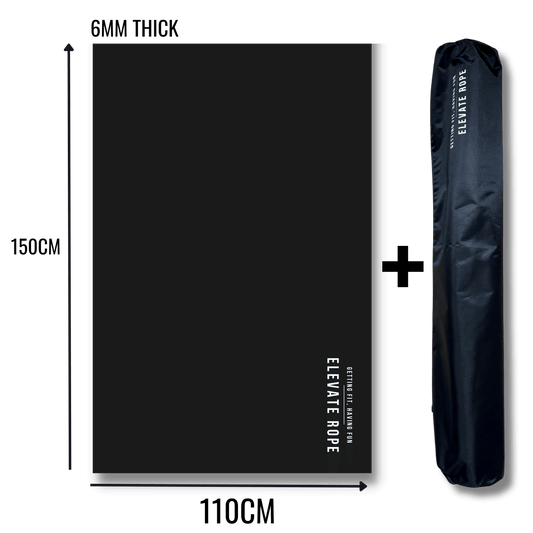
Hard floors push impact straight back into your joints. Concrete and tile are the worst offenders. A cushioned surface absorbs some of that force and keeps your landings stable. Training on → a cushioned jump rope mat over a flat floor is the single easiest joint upgrade.
2. Wear supportive shoes
Bare feet and flat, worn shoes offer little protection. Choose trainers with good cushioning and arch support. Supportive shoes spread the load and steady your ankle, which in turn protects the knee.
3. Warm up before you jump
Cold joints do not absorb impact well. Spend three to five minutes raising your heart rate and loosening your ankles, knees, and hips. Marching, gentle calf raises, and easy hops without the rope all prepare the body.
4. Land soft and low
This is the heart of joint-safe jumping. Keep your hops low, around two to three centimetres, just enough to clear the rope. Land on the balls of your feet with knees softly bent. Quiet landings mean your muscles are absorbing the force, not your joints.
5. Start with short sets
Begin with ten easy jumps, then rest. Bone-health research often uses short, low-volume jumping rather than long sessions. Our 10-jump bone-building routine turns this into a simple, repeatable pattern.
6. Progress by feel
Add volume only when your current level feels easy and pain-free. Give your joints a rest day between sessions early on. Patience here is what lets you keep jumping for decades, not weeks.

The table below sums up the difference between a kind start and a harsh one.
| What you choose | Easier on your joints | Harder on your joints |
| Surface | Cushioned mat on a flat floor | Bare concrete or tiles |
| Landing | Soft, balls of feet, knees soft | Flat-footed, heels down, stiff legs |
| Jump height | Two to three centimetres | High, bouncy hops |
| Footwear | Cushioned, supportive trainers | Bare feet or worn flats |
| Volume | Short sets, gradual build | Long sessions from day one |
Choosing a Rope That Is Kind to Beginners
The jump rope you pick shapes how your first month feels. A fast, thin cable whips past before your timing catches up. That leads to tripping, frustration, and the quiet decision to quit.
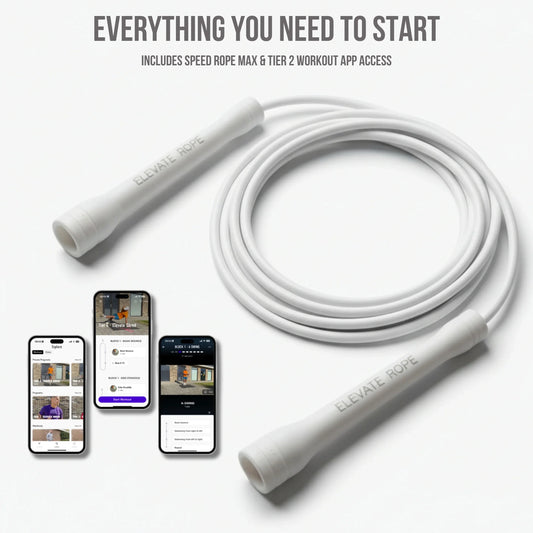
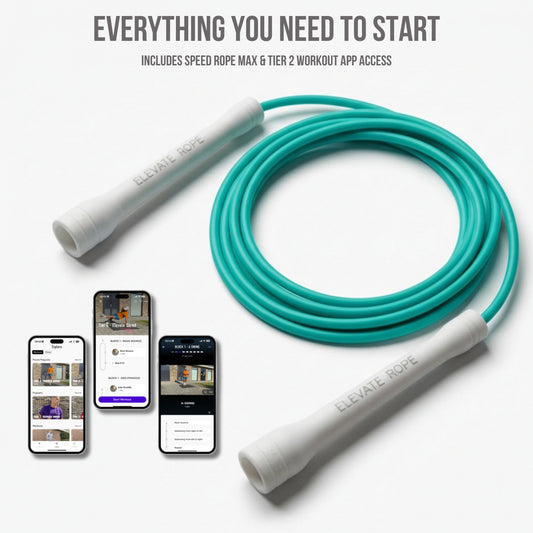
A beaded rope behaves differently. The beads give it a steady, slightly slower turn that is easier to read. You feel the rope through your hands and arms, so your timing improves with each session. That tactile feedback is what helps a nervous beginner build rhythm.
The Elevate beaded rope is 3 meters adjustable, so you can size it to your height in a minute. Sizing matters more than people think. A rope that is too long forces wide, tiring arm movement and sloppy form.
For a gentle, controllable entry after 50, → the beaded rope is the natural starting point. It rewards control over speed, which is exactly what your joints want early on.
You do not need a heavy or weighted rope to protect your bones. Those add load your wrists and shoulders may not want yet. We lay out the full comparison in our guide to beaded versus weighted rope for bone health.
Short answer: A beaded rope turns at a readable speed and gives clear feedback, which makes a joint-safe start far easier.
Why it matters: The right rope builds clean technique from day one. Clean technique is what keeps impact low and your joints happy.
Best next step: Compare your options properly in our beaded versus weighted rope guide before you choose.
A Gentle First-Week Plan
Your first jump rope week is about teaching your body the pattern, not chasing numbers. Keep every session short and stop while you still feel fresh.
Try this gentle rhythm. On day one, do three sets of ten easy jumps, with a full rest between each. Day two is a rest day, with a short walk if you like. On day three, repeat day one, and notice how much smoother your timing feels.
Keep that pattern for the first week. Two or three short jumping days, with rest days between, is plenty. Your joints and tendons adapt during rest, not during the jumping itself.
Pair your jumping with a little pelvic-floor work, especially through menopause. Daily pelvic-floor contractions support continence as you add impact. If anything feels off, a pelvic health physiotherapist can adjust your plan.
Remember what this really is. Each short session is a small promise kept to your own body. That is the identity worth building, far more than any single workout. Our guide to the best exercises for bone density after menopause shows how jumping fits a wider routine.
When to Stop and Get Advice
Listen to your body, because it gives clear signals. Mild muscle soreness a day later is normal and nothing to fear. Sharp or sudden pain is not.
Stop and reassess if you feel pain in a joint, especially the knee. New or worsening back pain deserves the same caution. Swelling, a joint that feels unstable, or any leaking of urine all mean pause and seek advice.
None of this should put you off. These are simply the guardrails of a smart plan. Checking a niggle early is how you protect the habit you are building.
Frequently Asked Questions
Is jump rope bad for your knees after 50?
Not when you do it well. Soft landings, low hops, supportive shoes, and a cushioned surface keep the load on your knees low. Done with good technique, jump rope spreads impact across both legs and can be gentler than running.
How many jumps should I start with at 50?
Begin small, such as ten easy jumps followed by a rest. Short, low-volume sets are kinder to your joints and still useful for bone health. Add more only when your current level feels comfortable and pain-free.
Do I need a mat to jump rope at home?
It helps a great deal. A cushioned mat softens each landing and keeps your footing stable on hard floors. It also protects your floor and extends the life of your rope.
What is the best jump rope for a beginner over 50?
A beaded rope is a strong choice. It turns at a readable speed and gives feedback through your hands and arms, which makes timing easier. That control helps you build clean technique before you ever add intensity.
How often should I jump rope when starting out?
Two or three short jump rope sessions a week is plenty at first. Keep a rest day between sessions so your joints and tendons can adapt. Consistency over weeks matters far more than long single workouts.
Should I see a doctor before starting jump rope after 50?
If you have osteoporosis, a past fracture, joint problems, or pelvic-floor symptoms, yes. A quick check confirms whether impact suits you and how to begin. Our safety guide explains exactly who should seek clearance first.
Can I jump rope with arthritis in my knees?
Sometimes, but get advice first. Painful arthritis may mean impact is not right for you, or that you need a very gentle approach. A doctor or physiotherapist can suggest suitable alternatives if needed.
Your Next Step, Based on Where You Are
If you are cleared and brand new to impact, start gently and let the setup carry you. A cushioned mat, supportive shoes, and a forgiving beaded rope make the first month far kinder. Keep your sets short and your hops low, and the habit will build itself.
If you have a bone or joint concern, start with the safety guide and a professional's advice. Read whether jump rope is safe during menopause, then take the flags to your doctor. Return once you have your green light.
Either way, you do not have to plan this alone. The jump rope for menopause hub maps the whole path, from understanding your bones to your first routine. The aim is not a perfect week. It is a kept promise, repeated, that protects the body you live in.
Sources
- Royal Osteoporosis Society, Exercise for bone health: https://theros.org.uk/information-and-support/bone-health/exercise-for-bones/
- Brooke-Wavell K, et al. Strong, Steady and Straight: UK consensus statement on physical activity and exercise for osteoporosis, British Journal of Sports Medicine, 2022: https://pmc.ncbi.nlm.nih.gov/articles/PMC9304091/
- Montgomery G, et al. Feasibility of a jumping intervention for postmenopausal women, randomized controlled study: https://pmc.ncbi.nlm.nih.gov/articles/PMC10664055/
- Hospital for Special Surgery, Why jumping rope is the ideal post-menopausal workout for your bones: https://news.hss.edu/why-jumping-rope-is-the-ideal-post-menopausal-workout-for-your-bones-according-to-an-exercise-scientist/
- International Osteoporosis Foundation, Exercise for individuals with osteoporosis: https://www.osteoporosis.foundation/health-professionals/prevention/exercise/exercise-individuals-with-osteoporosis
- The Menopause Charity, Menopause and urine incontinence: https://themenopausecharity.org/information-and-support/symptoms/menopause-and-urine-incontinence/
You May Also Like
→ Is Jump Rope Safe During Menopause? Who Should and Should Not
→ The 10-Jump Method: A Gentle Bone-Building Routine
→ Beaded vs Weighted Rope for Bone Health After Menopause