


Einführung: Technik in Ausdruck verwandeln freestyle
Du hast bereits die Grundlagen gelernt – Seitenschwünge, Kreuzschläge, Timing und Rhythmus.
Jetzt ist es Zeit, diese Bewegungen in flüssige Freestyle-Kombinationen zu verwandeln, die kraftvoll, ausdrucksstark und unverkennbar deine sind.
Freestyle-Seilspringen dreht sich um Flow, nicht um Formeln. Es ist die Kunst, Tricks so zu verbinden, dass Bewegung, Rhythmus und Emotion zu einer kontinuierlichen Schleife verschmelzen. Dieser Leitfaden führt dich durch jeden Schritt des Prozesses – von der Strukturierung deiner Kombinationen bis zum Finden deines Rhythmus – und zeigt dir, wie du das richtige Seil auswählst, um jede Bewegung flüssiger zu machen.

Warum Flow wichtiger ist als Show
Im Freestyle konzentrieren sich Anfänger oft darauf, mehr Tricks zu lernen, aber erfahrene Springer wissen:
Flow ist das, was deinen Sprung fesselnd macht. Es ist der unsichtbare Klebstoff zwischen jeder Fertigkeit.
Flow entsteht, wenn:
- Du wechselst nahtlos zwischen den Bewegungen.
- Dein Rhythmus bricht nie – selbst bei Neustarts.
- Du bewegst dich mit musikalischer Präzision statt mit roboterhafter Wiederholung.
Die Entwicklung dieses Kontrollniveaus erfordert bewusste Struktur. Statt Tricks zufällig aneinanderzureihen, denke an Kombinationen als Sätze mit Rhythmus und Ton. Jeder Seitenschwung ist eine Pause; jeder Kreuzschlag ein Highlight; jede Freigabe ein Satzzeichen.
Profi-Tipp: Die besten Freestyler der Welt machen keine schwierigeren Tricks – sie verbinden einfache Tricks mit perfektem Timing.
Schritt 1 – Wähle deine Kernfertigkeit
Jede Kombination beginnt mit einer Grundfertigkeit.
Betrachte es als deinen "Anker" – die Bewegung, die den Rhythmus und die Energie deiner Sequenz definiert.
Beispiele für großartige Anker:
- Side Swing zu Open
- Kreuzmuster
- EB (Under the Leg Cross)
- Mic Release
- Double Under
Wählen Sie eine Fähigkeit, die Sie konsequent und sicher ausführen können. Ihr Ziel ist es nicht zu beeindrucken, sondern eine verlässliche Grundlage zu schaffen, die Ihrer Kreativität freien Lauf lässt.
Sobald Sie Ihren Anker gewählt haben, bauen Sie in modularen Schritten darum herum auf.
Schritt 2 — Fügen Sie Übergänge hinzu, die sich natürlich anfühlen
Übergänge unterscheiden eine zufällige Trickkette von einer echten Freestyle-Kombination.
Sie verbinden eine Bewegung mit der nächsten ohne den Rhythmus zu unterbrechen.
So sollten Sie über Übergänge denken:
| Typ | Zweck | Beispiel | Gefühl |
| Fluss-Übergänge | Sanfte Verbindungen, die das Tempo halten | Side Swing → Cross | Fließend |
| Reset-Übergänge | Momentane Pausen, um das Gleichgewicht wiederzufinden | Open → Bounce → Cross | Kontrolliert |
| Richtungswechsel | Ändere den Seilweg oder die Fußarbeit | EB → AS → TJ | Dynamisch |
Beginne mit zwei-Bewegungs-Verknüpfungen.
Beispiel:
Seitenschwung → Kreuz → Offen.
Wiederhole, bis du es 30 Sekunden lang ohne Pause ausführen kannst.
Erweitere dann auf drei oder vier Bewegungen, mit fließenden Übergängen dazwischen.
🎧 Probiere diese Übung: Springe zu einem 100 BPM Track. Führe deine Kombination im Takt für ein ganzes Lied aus — das fördert Rhythmusbewusstsein und Ausdauer.
Schritt 3 — Füge ein kreatives Element hinzu
Sobald sich deine Basis-Kombination stabil anfühlt, ist es Zeit, Kreativität einzubringen — die persönliche Note, die Freestyle so fesselnd macht, um zuzusehen und auszuführen.
Du kannst Kreativität hinzufügen durch:
- Loslassen: Lass die Griffe kurz los (z.B. Mic Release, Rope Toss).
- Umwicklungen: Nutze deine Arme oder Beine, um das Seil zu fangen und umzulenken.
- Richtungswechsel: Füge halbe Drehungen, Spins oder Fußdrehungen hinzu.
- Temposchwankungen: Verlangsame den Rhythmus für einen Schlag, dann explodiere in Geschwindigkeit.
Das Geheimnis ist nicht Komplexität — es ist Ausdruck.
Schon eine einzige kreative Bewegung kann die Stimmung deiner gesamten Kombination verändern.
⚡ Profi-Tipp: Verwende ein Perlenseil für kreatives Training. Die Gewichtsverteilung gibt hörbares Rhythmus-Feedback und lässt dich den Seilweg "fühlen" — ideal, um den Flow zu trainieren.
Schritt 4 — Staple Deine Module
Betrachte jede Mini-Kombination als einen "Block."
Du kannst diese Module endlos kombinieren.
Beispiel-Blueprint:
- Modul 1 – Warm Start: Side Swing → Open → Cross
- Modul 2 – Transition Zone: Cross → Side Swing → EB
- Modul 3 – Creative Hit: EB → Mic Release → Open
- Modul 4 – Reset: Bounce → Side Swing → Open
Verbinde diese in Schleifen, bis dein Muskelgedächtnis übernimmt.
Bald beginnt dein Körper zu improvisieren — du wirst natürlich freestylen, statt Sequenzen auswendig zu lernen.
Profi-Übung: Nimm deine Session einmal pro Woche auf. Beobachte, wie du zwischen den Modulen wechselst — strebe jedes Mal weniger Pausen und sauberere Landungen an.

Schritt 5 — Synchronisiere dich mit Musik (und Energie)
Musik ist ein kraftvoller Leistungssteigerer beim Freestyle-Jump-Rope.
Dein Gehirn richtet Bewegungen natürlich am Rhythmus aus — ein Prozess, der Entrainment genannt wird.
- Beginne mit Songs zwischen 95–110 BPM (ein angenehmes Sprungtempo).
- Nutze den Downbeat, um deine Crosses oder Double Unders zu timen.
- Heb die Übergänge hervor, wenn die Musik abfällt — das verstärkt den visuellen Flow.
Sobald du sicher bist, erstelle eine Playlist mit 3–4 Songs, die zu deiner Energie passen.
Mit der Zeit wirst du feststellen, dass bestimmte Kombos zu bestimmten Songs passen — dann wird Freestyle zur Kunst.
🎶 Verwandter Beitrag: Flow, Musik & Kreativität — Baue deinen eigenen Signature Jump Rope Style auf (interner Link zum Sub-Pillar).
Schritt 6 — Die Ausrüstung zählt: Seilwahl für kreative Kontrolle
Nicht alle Seile sind gleich, wenn es um den Flow geht.
Wenn du es ernst meinst mit dem Beherrschen von Freestyle-Kombos, wird das richtige Seil einen riesigen Unterschied machen.
| Seiltyp | Gefühl | Am besten geeignet für |
| Perlen-Seil | Gewichtetes Feedback, langsamere Drehungen | Flow, visuelle Effekte, Combos lernen |
| PVC Speed Rope | Schnell, fließend | Fitness, Speed-Tricks |
| Schweres Seil | Schwer, kraftvoll | Kraft und Kondition |
Für Freestyle-Combo-Arbeit empfehlen wir:
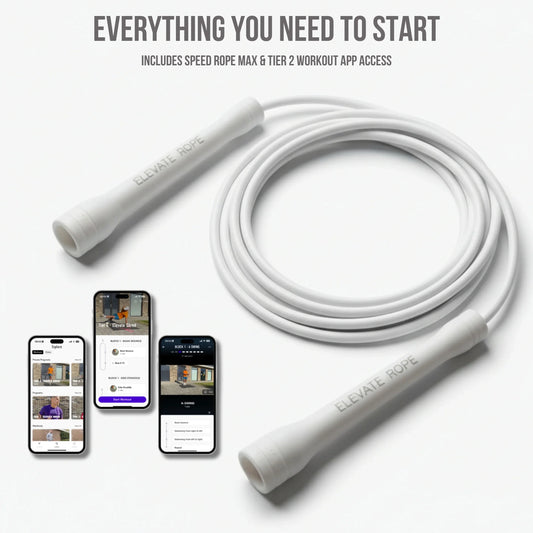
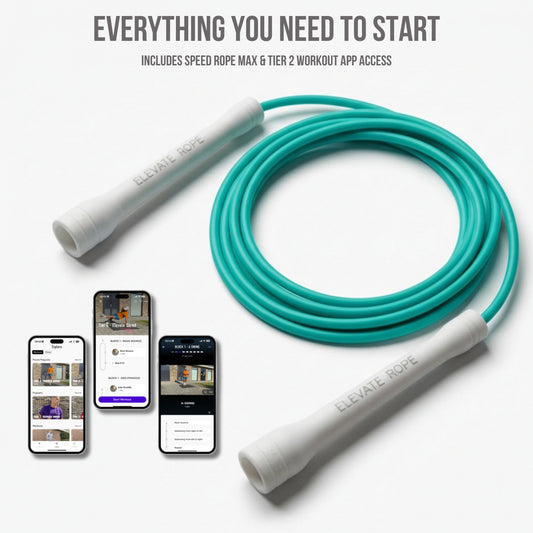
- Beaded Ropes für sensorischen Rhythmus und Griffkontrolle
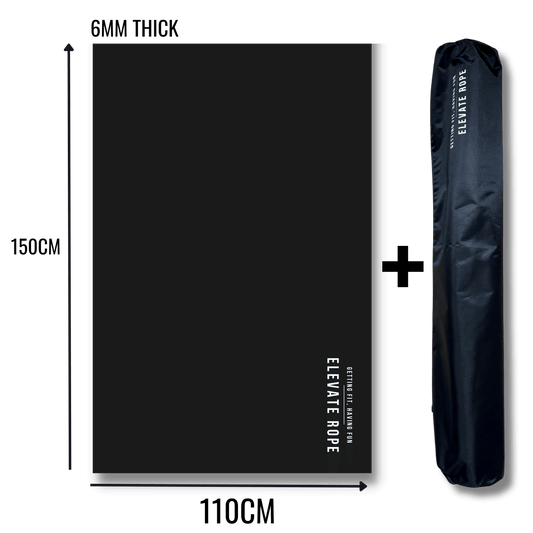
- Ascent MAX Rope Bundle für maximale Vielseitigkeit und verstellbare Länge
Get Ascent MAX — Spare 20 € → elevaterope.com/products/ascent-max-bundle
Beide Seile helfen dir, Übergänge zu spüren, Spannung zu halten und sauberere Combo-Timings zu entwickeln.
Schritt 7 – Baue eine Routinenstruktur auf
Sobald du mehrere Combos gesammelt hast, ist es Zeit, sie zu einer aufführungsbereiten Sequenz zu organisieren.
Hier ist ein einfaches Rahmenkonzept:
- Intro (5–10 Sek.): Grundlegende Flow-Fähigkeiten, um die Aufmerksamkeit des Publikums zu wecken.
- Hauptcombo (15–30 Sek.): Zeige Kreativität und Kontrolle – deine Markenzeichen.
- Highlight (5–10 Sek.): Füge einen kraftvollen Trick oder eine Freigabe hinzu.
- Outro (5 Sek.): Sanfte Übergänge zurück zu den Grundbewegungen.
Die gesamte Routine sollte in eine 45- bis 60-sekündige Runde passen – perfekt für Social Content, Challenges oder Wettbewerbsdemos.
Profi-Tipp: Freestyler, die strukturierte Routinen posten, erhalten auf sozialen Plattformen bis zu 40 % mehr Engagement als diejenigen, die zufällige Clips teilen.
Schritt 8 — Übe Flow, nicht Perfektion
Flow braucht Zeit. Je mehr du Perfektion jagst, desto steifer wirst du dich fühlen.
Trainiere stattdessen für Konsistenz und Kreativität.
Probiere dieses 3-teilige Wochenframework aus:
| Tag | Fokus | Ziel |
| Mo–Mi | Technik | Saubere 3-Schritt-Übergänge |
| Do–Fr | Kreativität | Füge 1 neuen Release oder Wrap hinzu |
| Wochenende | Flow-Session | 2 komplette Freestyle-Runden |
Überprüfe jede Woche deine Aufnahmen und erkenne Momente natürlichen Rhythmus — das ist deine persönliche Flow-Signatur.
Schritt 9 — Teilen, Vernetzen und Weiterentwickeln
Freestyle-Seilspringen ist eine gemeinschaftliche Kunstform.
Deinen Fortschritt zu teilen, dich mit anderen zu vernetzen und neue Perspektiven zu lernen, wird deine Kreativität weiter vorantreiben.
Tritt bei #ElevateFamily Community auf Instagram und YouTube. Poste deine Kombinationen, markiere andere Springer und tausche Feedback aus.
Interner Link: Freestyle-Grundlagen: Timing, Fußarbeit & Griffkontrolle — perfekte Ergänzung zur Verfeinerung der Präzision.