


Jump rope for beginners comes down to three things: a little space, the right rope, and ten honest minutes a day. You need about a square metre of floor, a rope sized to your height, and the patience to learn the basic bounce. Start with a beaded rope for the feedback, then build from there.
Here is the part most guides skip. The reason beginners give up is almost never fitness. It is the trip-and-quit loop: you buy a cheap rope, it tangles or whips through too fast, you catch it on your ankles a dozen times in two minutes, and you quietly decide you are "not coordinated." You were never the problem. A silent, badly balanced rope gives your brain nothing to time against, so of course you trip.
The upside is just as real. A frequently cited study from Arizona State University found that ten minutes of daily rope skipping improved cardiovascular fitness about as much as thirty minutes of daily jogging over six weeks. That is not a promise you will look like an athlete in a month. It is a reason the time excuse stops working. This guide covers the practical setup, the first ten minutes, and the one thing nobody teaches beginners: how to make it a habit you actually keep.
What's in this guide
Is jump rope actually good for beginners?
Why beginners trip and quit (and how to stop)
How much space, which rope, and what size?
How to start: your first ten minutes
How to make it stick (the part nobody teaches)
Whether jump rope is genuinely worth your time as a beginner — and what the evidence says
The real reason beginners trip and quit, and how the right rope fixes it
How much space you need and which rope to learn on first
How to size a rope to your height so it doesn't fight you
A simple first-ten-minutes plan you can do today
How to turn it into a habit without the streak-or-fail pressure
Is jump rope actually good for beginners?
Short version: yes, and the case is stronger than most people assume. Jump rope is one of the few workouts that is genuinely beginner-friendly and genuinely effective at the same time, which is rare. It costs little, packs into a bag, works in a square metre of kitchen, and trains your heart, calves, coordination and timing all at once. For someone who has bounced off the gym before, that low barrier matters more than any single fitness metric.
The cardio efficiency is the headline
The number that gets repeated everywhere traces back to a 1968 study by John A. Baker, published in the Research Quarterly, comparing rope skipping and jogging in college men. Ten minutes of daily skipping produced cardiovascular gains on par with thirty minutes of daily jogging. It has been echoed in fitness research and coaching ever since. Read it the honest way: jump rope is time-efficient cardio, not a magic shortcut. You still have to show up. But if your blocker is "I don't have thirty minutes," that excuse genuinely loses its footing.
It is a full body that running isn't
Running is mostly legs. Jumping rope quietly pulls in your shoulders, forearms and core to control and stabilise the rope, on top of the calf and foot work. Strength experts interviewed by TIME have pointed out that the impact travels through the balls of your feet rather than slamming through the heel the way many runners experience, which is part of why a controlled jump can feel kinder to the body than people expect. It also loads your bones lightly with every rebound — weight-bearing impact that research links to bone-density benefits, especially at the hip.
Short answer: Jump rope is an excellent beginner workout — efficient cardio, full-body, low-cost, and doable almost anywhere.
Why it matters: The biggest barrier for returning beginners is friction, not fitness. A rope removes the commute, the cost and the intimidation that make gym plans collapse in week two.
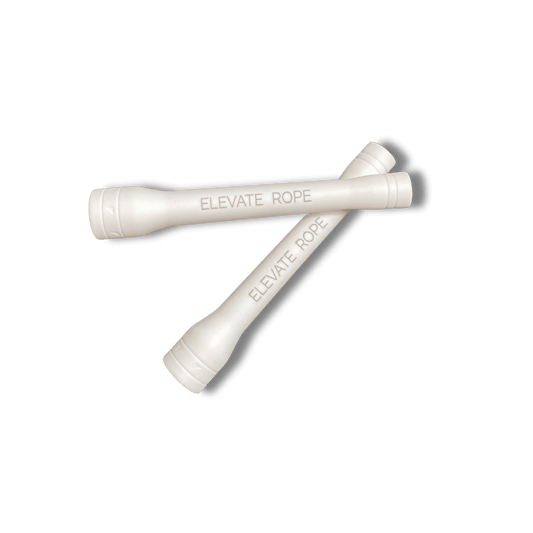
Best next step: If you are starting cold, learn on a rope that teaches you timing. A → beaded jump rope for beginners gives the most feedback while you build the basic rhythm.

Why beginners trip and quit (and how to stop)
If you have tried jumping rope before and concluded you are hopeless at it, read this section before you write yourself off. The trip-and-quit cycle has a mechanical cause, and it is fixable.
Silent ropes give your brain nothing to time against
Learning to jump rope is a timing problem, not a fitness problem. Your brain needs to know where the rope is so it can fire the jump a fraction of a second early. A thin, silent PVC rope gives you almost no feedback — you can't feel or hear where it is, so you guess, mistime, and catch it on your shins. A beaded rope solves this with sound. The beads strike the floor with a steady tick-tick-tick that acts like a metronome, telling your brain exactly when to hop before your eyes can even process the rope's position. That audible feedback is why beginners often learn in days with a beaded rope instead of weeks.
Cheap bearings make it worse, not better
Plenty of budget ropes brag about ball bearings for "fast spin." For a beginner that is the wrong feature. Bearings let the rope accelerate faster than your body can keep up with, which disrupts your natural rhythm and causes exactly the trip-ups you are trying to avoid. Elevate engineered bearings out for this reason — a rope that moves with you, not ahead of you, is what builds consistency early. The fix for tripping is almost never "try harder." It is "learn on a rope that gives feedback and matches your timing." Start there with → Elevate's beaded ropes, and the clumsiness usually disappears on its own.
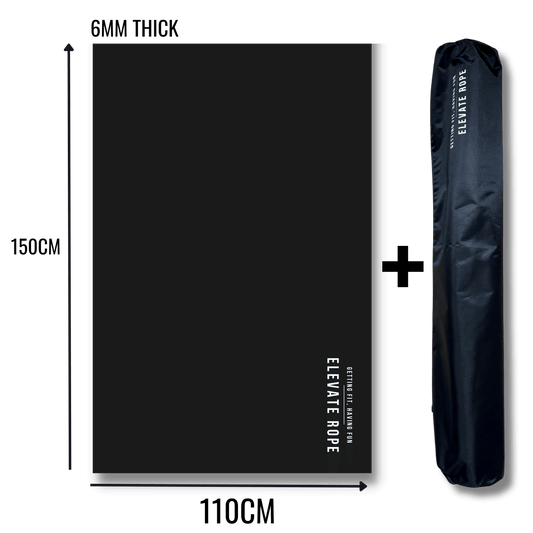
How much space, which rope, and what size?
You need less than you think. About one square metre of clear floor and roughly 30 cm of clearance above your head is enough for the basic bounce. A flat, slightly forgiving surface — wood, rubber gym flooring, a mat — is kinder to your joints and your rope than concrete. That is the whole setup. Now for the two decisions that actually matter: which rope, and what length.
Which rope should a beginner learn on?
For a true beginner the answer is usually a beaded rope, because feedback beats speed while you are still learning. Once the basic bounce is automatic, a speed rope becomes the natural next step for cardio and double-unders. Here is how the main rope types compare for someone just starting out.
| Rope type | Best for | Feedback & feel | Beginner verdict |
| Beaded | Learning timing, rhythm, freestyle | Highest — audible "tick" plus visible arc | Best first rope. Start here. |
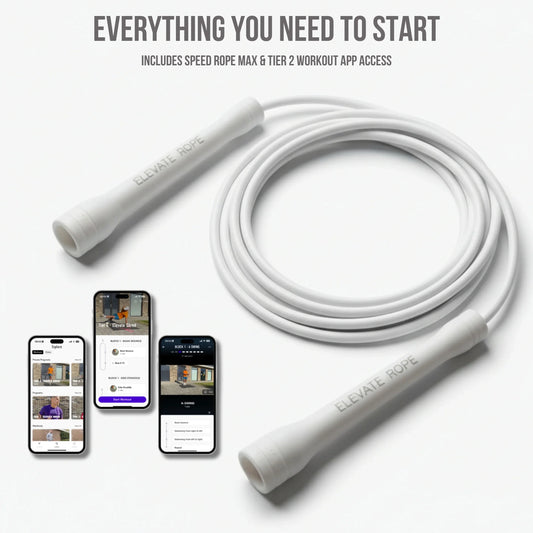
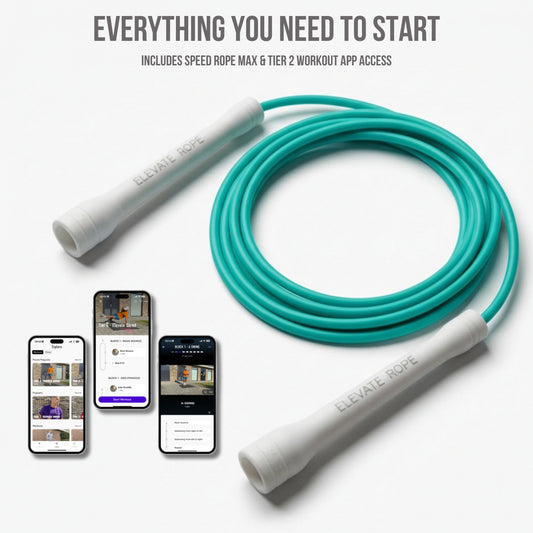
| Speed (Speed Rope MAX) | Cardio, HIIT, double-unders | Smooth, fast, less feedback | Ideal second rope once basics are solid. |
| Weighted speed (Titan 7 mm) | Breaking a plateau, control under load | Heavier cable, strong tactile feel | Useful later — not a starting rope. |
| Heavy | Strength-cardio, conditioning | Very heavy, slow rotation | Advanced. Skip until you're confident. |
If you would rather not choose piece by piece, a starter set removes the guesswork: the → Ascent starter bundle pairs a beginner rope with the next-step pieces so your progression is already mapped. You can also browse the full → speed rope range when you are ready to move on from learning to training.
What length do you need?
Length is the silent killer of beginner motivation. Too short and the rope clips your head and feet and feels impossible; too long and it drags and tangles. The quick rule: stand on the centre of the rope with one foot, pull the handles up, and the handle tops should reach roughly your armpits to mid-chest. Most Elevate ropes are adjustable so you can dial this in. Taller jumpers especially should check this before deciding a rope "doesn't work" — nine times out of ten it is a sizing issue, not a rope issue. For the full height chart and step-by-step adjustment, see our guide on how to size a jump rope.
Short answer: Learn on a beaded rope, sized so the handles reach your armpits to mid-chest when you stand on the middle of the cord.
Why it matters: The wrong rope and the wrong length cause most beginner tripping. Fix both and the learning curve gets dramatically shorter.
Best next step: Pick a → beaded rope and size it before your first session. If you want the whole path in one box, the → Ascent bundle is the simplest start.
How to start: your first ten minutes
You do not need a program on day one. You need to get comfortable with the bounce and finish feeling like you could do it again tomorrow. Resist the urge to go hard — early enthusiasm is exactly what burns beginners out. Here is a first session that almost anyone can complete.
The basic bounce, broken down
Start without timing pressure and build the movement in layers:
- Practice the jump with no rope. Small bounces on the balls of your feet, 2–3 cm off the floor, knees soft. Stay tall.
- Practice the turn with no jump. Hold both handles in one hand and turn the rope at your side, listening for a steady rhythm. Elbows in, the work comes from your wrists, not big arm circles.
- Combine them slowly. One swing, one jump. Reset if you trip — tripping is data, not failure.
- Work in short rounds. 30 seconds of jumping, 30 seconds rest, repeated 8–10 times. That is your first ten minutes.
Two cues fix most early mistakes: keep your jumps small (beginners jump far too high and tire out), and let your wrists do the turning. If you want to watch the movement rather than read it, our step-by-step how to jump rope walkthrough demonstrates each stage at beginner speed. Over your first two weeks, nudge the work intervals up by a few seconds at a time. Building from five honest minutes is more sustainable than forcing ten on day one and quitting on day three.

How to make it stick (the part nobody teaches)
This is where most beginner guides stop, and it is the only part that decides whether you are still jumping in three months. Technique gets you through week one. A system gets you through the rest. The good news is the system is simpler than the fitness industry wants you to believe.
You don't need an app, a subscription, or a login
A lot of the beginner conversation quietly funnels you into an app and a recurring fee — often around €99–€150 a year. For someone who has felt friction with fitness before, adding a screen, a paywall and a login is more friction, not less. You do not need any of it to start. A rope you own, ten minutes, and a clear floor is the entire requirement. Elevate's coaching content and the free Elevate Shred app are there if you want guidance, but the rope is yours outright — no monthly fee to keep using the thing you bought.
Build identity, not streaks
Streak-or-fail systems set you up to quit. Miss one day, break the chain, feel like you blew it, stop entirely. The more durable frame is identity: you are becoming someone who keeps small promises to themselves. Missing a day is part of the plan, not a failure of it — you simply jump the next day. Keeping the promise, over and over, is what rebuilds self-trust, and self-trust is what actually carries a habit. If consistency is your real struggle, our piece on why you can't stick to a workout routine goes deeper, and the first 30 days plan lays out a beginner schedule with the streak pressure deliberately removed.
Short answer: Skip the streak mentality. Aim to keep a small promise most days, and treat missed days as part of the process.
Why it matters: Guilt-driven streaks are the single most common reason beginners quit. Removing the all-or-nothing pressure keeps you in the game long enough to see results.
Best next step: Start the 30-day beginner plan, and when you outgrow learning, step up to a → speed rope for faster cardio sessions.
Frequently asked questions
How do I start jumping rope as a beginner?
Clear about a square metre of floor, size your rope to your height, and practice the bounce and the turn separately before combining them. Begin with 30 seconds of jumping and 30 seconds of rest for around ten minutes. Use a beaded rope so the sound helps you time each jump.
What kind of jump rope is best for beginners?
A beaded rope is the best beginner choice because it gives audible and visual feedback that makes learning faster. A speed rope is a great second rope once your basic bounce is automatic. You can compare them in our guide to beaded vs speed vs weighted ropes.
How long should a beginner jump rope each day?
Start with about five to ten minutes, broken into short intervals with rest. Consistency at a lower volume beats occasional long sessions. Build up gradually over two to three weeks as your timing and endurance improve.
Is jump rope bad for your knees?
For most people, jumping rope with good form is lower impact than running, because you land softly on the balls of your feet rather than heel-striking. Small jumps, a forgiving surface, and supportive shoes matter. We cover this in detail in is jump rope bad for your knees, and anyone with an existing joint condition should check with a clinician first.
Can you lose weight jumping rope?
Yes — jump rope burns roughly 10–15 calories per minute at a moderate pace, which is high for a no-equipment workout. Weight change still depends on overall diet and consistency, but as a time-efficient calorie burner it is hard to beat. See the honest numbers in how many calories jumping rope burns.
Is jump rope good for beginners over 40?
It can be, and the bone-loading and coordination benefits are arguably more valuable with age. Start with low, controlled jumps, a softer surface, and shorter intervals, and progress slowly. If you have joint concerns or have been inactive for a while, get medical clearance before starting.
Do I need an app or subscription to start jumping rope?
No. You need a rope, a little space and ten minutes. Some brands route beginners into paid apps, but a rope you own is all that is required to start. Elevate's free Elevate Shred app is available if you want guided sessions, with no subscription to keep using your rope.
How do I size a jump rope to my height?
Stand on the middle of the rope with one foot and pull the handles up — the tops should reach roughly your armpits to mid-chest. Most Elevate ropes adjust, so trim or adjust to that mark. The full height chart is in how to size a jump rope.
Where to start, based on where you are
If you are a complete beginner, keep it simple: get a → beaded rope, size it to your height, and do five to ten minutes of the bounce-and-rest routine above. The feedback from the beads is what shortens the learning curve, and "learnable" is exactly what you want on day one.
If you have the basics down and you are chasing cardio, fat loss or double-unders, move to a → speed rope. It is faster, smoother and built for training rather than learning. And if you would rather skip the decision-making entirely and own the whole progression from day one, the → Ascent starter bundle packages the beginner rope and its next steps together — the easiest way to start without second-guessing your setup.
Once you are jumping regularly, the habit becomes the product. Follow the first 30 days plan to lock the routine in, and join the Elevate 26 community if you want other beginners to jump alongside. You bought a rope. What you are really building is the kind of consistency that carries into everything else.
Sources
- Baker, J.A. (1968). Comparison of Rope Skipping and Jogging as Methods of Improving Cardiovascular Efficiency of College Men. Research Quarterly. Taylor & Francis Online
- Harvard Health Publishing. Calories burned in 30 minutes for people of three different weights. health.harvard.edu
- TIME. The Surprising Benefits of Jumping Rope. time.com
- Zhao et al. Efficiency of jumping exercise in improving bone mineral density among premenopausal women: a meta-analysis. PubMed
- World Health Organization. Physical activity — fact sheet. who.int