


And How to Avoid Them Jump Rope mistakes for a Smoother Start to Your Fitness Journey
Jump Rope training is one of the most accessible, efficient, and fun ways to improve your fitness — but only if you start with the right equipment. Unfortunately, many beginners sabotage their progress before they even start, simply by choosing the wrong jump rope.
From mismatched rope types to sizing slip-ups, purchasing errors can make your first jump rope experience frustrating, discouraging, and even costly. But don’t worry — this guide is here to help you avoid the five most common mistakes beginners make and show you how to get it right from the beginning.
Let’s dive in.
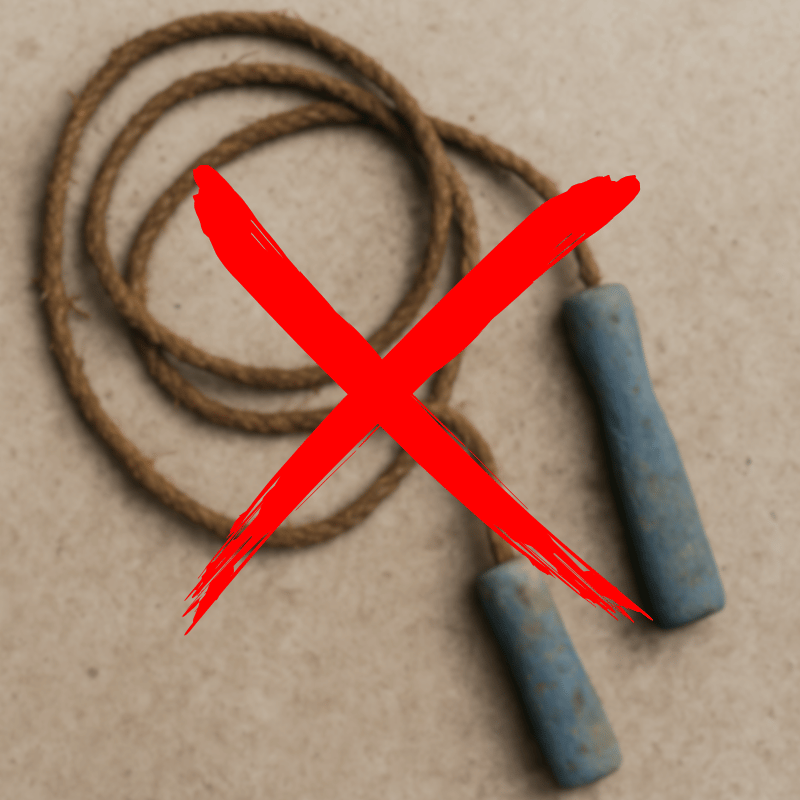
1. Choosing the Wrong Type of Jump Rope
Mistake:
Many beginners grab the first rope they see — often a speed rope or heavy rope — without considering their skill level or training needs. These ropes are often too fast, too light, or too demanding for someone just starting out.
Why It Hurts:
- Speed ropes give little to no feedback, making it hard to feel the rhythm and control the rope.
- Weighted ropes can overwhelm beginners with too much resistance, leading to poor form and faster fatigue.
- Poor material choice can cause unnecessary frustration and early burnout.
The Better Choice:
Start with a beaded jump rope. Beaded ropes offer:
- Better rope control thanks to their slightly heavier weight
- Audible feedback (clicking sound) that helps develop rhythm
- Durability on rough surfaces like concrete or asphalt
- A slower pace, ideal for learning proper form
✅ Takeaway: Always choose a rope that supports learning — not one that requires advanced coordination right out of the gate.
2. Getting the Jump Rope Length Wrong

Mistake:
Beginners often skip measuring and end up with ropes that are way too long or annoyingly short.
Why It Hurts:
- Too long: The rope slaps the ground excessively, forcing poor posture and tripping.
- Too short: You end up jumping too high, hitting your feet, or bending your elbows out unnaturally.
- Both situations create frustration and reduce workout effectiveness.
How to Get It Right:
Here’s a simple test:
- Stand on the middle of the rope with one foot.
- Pull the handles straight upward.
- The tops of the handles should reach your armpits or nipples.
If you're not sure, go slightly longer — you can always adjust or tie a temporary knot below the handle to shorten it.
✅ Takeaway: Proper sizing makes jumping smoother, more efficient, and way more fun.
3. Spending Too Much or Too Little on a Jump Rope
Mistake:
Some beginners spend a lot on high-tech speed ropes with fancy bearings and interchangeable weights. Others go too cheap, picking up a flimsy rope from a bargain bin.
Why It Hurts:
- Overspending means you’re paying for features you don’t need yet and might not even use.
- Cheap ropes often twist, tangle, or break — and you end up buying another one anyway.
Smart Budgeting Advice:
- Stick to mid-range beaded ropes that offer quality and durability without the frills.
- A good rope should cost between €15–€30 depending on the brand and material.
- Prioritize function over features: you're better off with a basic, reliable rope than a flashy one that works against you.
✅ Takeaway: Invest wisely — get a rope that’s built for learning, not impressing.
4. Ignoring Personal Fitness Goals
Mistake:
Jumping into the trend without thinking about what you actually want to achieve.
Why It Hurts:
- If your goal is to learn tricks or freestyle, a speed rope will leave you discouraged.
- If you're focused on weight loss and control, using a rope meant for speed training won't help.
- Training with the wrong tool leads to ineffective workouts and plateaus.
How to Align Your Rope with Your Goals:
Ask yourself:
- Do I want to burn fat and improve cardio?
- Am I more interested in coordination, rhythm, or tricks?
- Do I plan to train outdoors or indoors?
For most beginners — especially those aiming to improve coordination, lose weight, and build rhythm — beaded ropes check every box.
They’re versatile, forgiving, and durable enough to grow with you as your skills develop.
✅ Takeaway: Define your goals first, then choose the rope that helps you get there.
5. Skipping Beginner-Friendly Features
Mistake:
Beginners often miss out on ropes designed to make the learning curve easier — and that’s a missed opportunity.
Why It Hurts:
- Non-adjustable ropes lock you into one length.
- Featureless ropes offer no visual or tactile cues, which are important for building form.
- Lack of grip or handle comfort can make longer sessions painful.
What to Look For:
- Adjustability: Easy to resize as you improve.
- Grippy handles: Prevent slipping and allow better control.
- Beads or visible segments: Help you maintain timing and coordination.
✅ Takeaway: Choose a rope with beginner-friendly features that support your progress, not hinder it.
🎯 Final Recommendation: Start Strong with a Beaded Rope
If you’re just getting started, a beaded rope is the smartest way to begin. It avoids all five beginner pitfalls and sets you up for long-term success.
Why Beaded Ropes Are Perfect for Beginners:
- ✅ Great feedback for learning rhythm
- ✅ More control and better timing
- ✅ Tough enough for outdoor training
- ✅ Slower pace that supports skill development
- ✅ Cost-effective without compromising quality
Ready to start your jump rope journey with confidence?
👉 Explore Beaded Ropes Built for Beginners – trusted by coaches, designed for growth, and made to last.
Jump rope shouldn’t be frustrating — it should be fun.
Avoid these common mistakes, start with the right rope, and you’ll unlock one of the most powerful tools for cardio, coordination, and confidence.