


Jump rope is one of the most effective and accessible workouts out there — but if your rope isn’t the right length, you’re setting yourself up for frustration. Too long, and the rope drags and slows you down. Too short, and it clips your feet or forces awkward posture. The good news? Adjusting your jump rope is simple when you know how.
In this guide, we’ll walk you through how to adjust your jump rope in 3 easy steps, explain common mistakes to avoid, and help you get the most out of your training — no matter your level. Whether you’re a beginner just starting out or a seasoned jumper fine-tuning your setup, this tutorial has you covered.
✅ Step 1: Measure the Correct Jump Rope Length

The first step is identifying the right rope length for your body. A properly sized rope allows for efficient movement, clean rotations, and improved endurance.
Here’s how to measure it:
- Stand on the middle of the rope with one foot.
- Pull the handles upward along the sides of your body.
- The tops of the handles should reach between your armpits and nipples.
📷 [Insert image here showing correct measuring technique: person standing on the rope, handles pulled up to armpit/nipple level.]
Pro Tip: If you're a beginner, opt for the higher end of the range (closer to armpits). As you progress and improve control, you may shorten it for faster rotations.
Sizing mistakes to avoid:
- Too long: The rope slaps the floor, arcs too high, and slows your rhythm — causing more tripping and fatigue.
- Too short: You'll overcompensate with posture, jumping higher or using your arms instead of your wrists, which leads to poor form and shoulder strain.
- Measuring without handles or standing unevenly — this throws off your alignment and leads to inaccurate sizing.
🔧 Step 2: Make the Physical Jump Rope Adjustment

Once you've identified the ideal length, it's time to make the actual change. This will depend on your rope type — but if you're using an adjustable jump rope, the process is quick and tool-free.
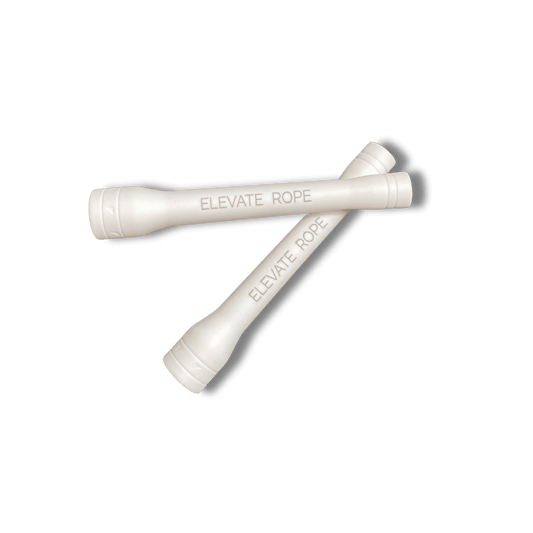
For Adjustable Speed Ropes:
- Open the handle caps. Most adjustable speed ropes have small caps or screw tops at the end.
- Slide the rope through the mechanism until you've reached your desired length on both sides. Use your measurement from Step 1.
- Tighten the mechanism (usually a screw or clamp) so the rope stays firmly in place.
- Trim the excess with scissors or tuck it inside the handle if trimming isn’t preferred.
📷 [Insert image here showing handle opened, rope being slid or adjusted.]
⚠️ Important: Always leave a small amount of extra rope until you're absolutely sure the new length works for you. You can always trim later — but you can’t add length back!
Physical adjustment tips:
- Adjust both sides equally to maintain center balance.
- Use a measuring tape if adjusting multiple ropes to match lengths precisely.
- If your rope doesn’t have a built-in adjustable system, you may need to tie knots near the handles — though this can affect balance and is not ideal long-term.
🧪 Step 3: Test and Fine-Tune Your Jump Rope
Now that your rope is sized and adjusted, it’s time to test it in action. You’ll want to jump in place for about 30–60 seconds and observe your posture and performance.
What to look for:
- Your elbows should stay close to your sides.
- Wrists should drive the rope, not your arms.
- The rope should clear the floor by about 1–2 inches with each swing.
- You should only need to jump 1–2 inches off the ground.
🎯 If you’re consistently tripping or the rope is scraping the floor — adjust again. Don’t worry if it takes a few tries. Fine-tuning is part of the process, especially as your skill level evolves.
🚫 Common Jump Rope Adjustment Mistakes to Avoid
Even with good instructions, it’s easy to run into a few pitfalls. Here are the most common missteps to avoid:
- Skipping the test phase: Many users adjust once and assume it's done. Always test and fine-tune.
- Over-trimming: Trimming too soon can leave you stuck with a rope that’s permanently too short.
- Uneven handles: Failing to match both sides evenly throws off rope balance, causing one side to rotate differently than the other.
- Ignoring posture: A properly sized rope won’t fix poor form. Combine good sizing with good technique.
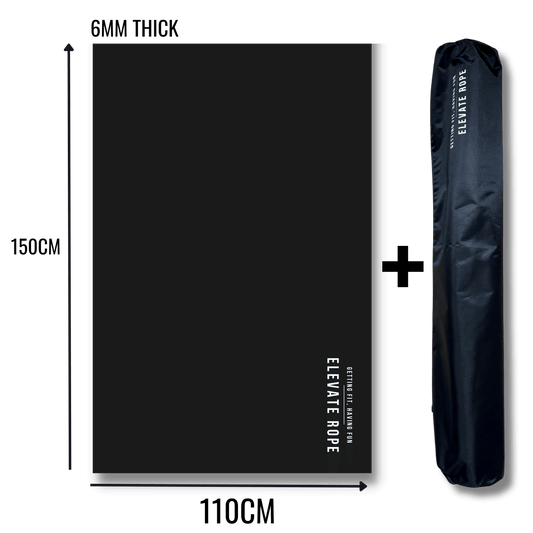
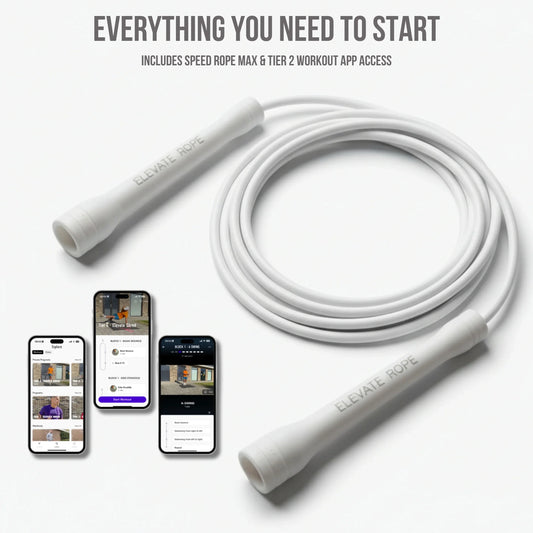
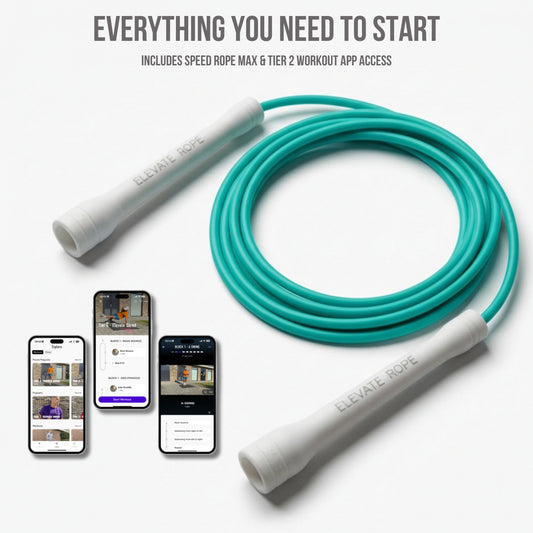
🛠️ Make Adjustments Easy with the Adjustable Speed Jump Rope
If you’re tired of guessing, struggling with knots, or dealing with ropes that just don’t quite fit — the Adjustable Speed Rope is your best training partner. Designed for quick customization, it allows you to adjust rope length in seconds without tools.
Why choose the Adjustable Speed Rope?
- Tool-free length adjustment
- Lightweight for speed, cardio, and HIIT
- Perfect for all fitness levels
- Durable and travel-ready
Whether you're sharing a rope with others, changing lengths as you progress, or simply want the most versatile setup — this rope is built to adapt with you.
👉 Ready to dial in your perfect fit?
Shop the Adjustable Speed Rope here
Final Thoughts
Jumping rope is a skill — and like any skill, the right setup makes all the difference. Proper rope length improves your rhythm, reduces fatigue, and builds confidence in every workout. By following these three simple steps — measure, adjust, test — you’re not just customizing a rope. You’re optimizing your entire training experience.
So whether you're just getting started or stepping up your game, take the time to get your setup right — and let the rope work with you, not against you.
📽️ Want a visual walkthrough?
Embed tutorial video here showing each step in action.
Your journey to smoother, stronger, more efficient jumping starts now. Adjust smart. Train smart.