


You finally decided to size your jump rope, tried jumping, tripped constantly, got tangled, and blamed your coordination.
But here's what nobody told you: the rope was probably the wrong length.
Rope sizing is the most overlooked factor in jump rope success. A rope that's too long creates slack that catches your feet. A rope that's too short forces you to jump unnaturally high. Either way, you're fighting equipment instead of building skill.
Learning to size your jump rope correctly takes less than two minutes. It's the single fastest improvement you can make to your jumping experience, yet most beginners skip this step entirely—often because they don't know it exists.
This guide covers everything: the standard sizing method, adjustments for different skill levels, how to cut and adjust various rope types, and signs that your current rope length isn't working.
What you'll learn:
- The two-minute method to size your jump rope perfectly
- Why sizing differs for beginners versus advanced jumpers
- How to adjust rope length on different rope types
- Signs your rope is too long or too short
- When and how to resize as your skills improve
The Standard Sizing Method
Here's how to size your jump rope using the universally accepted approach.
Step 1: Stand on the rope
Place one foot (or both feet together) on the centre of the rope. Make sure the rope lies flat under your foot, not bunched or twisted.
Step 2: Pull the handles up
Hold one handle in each hand and pull the rope taut along your body. Keep the handles parallel to each other and the rope running straight up your sides.
Step 3: Check the handle height
Beginners, the handles should reach your armpits (or slightly below your armpits, around nipple height).
Intermediate jumpers, the handles should reach mid-chest to lower chest.
Advanced jumpers, the handles may reach as low as the bottom of the sternum.
Step 4: Adjust if needed
If the handles extend above your shoulders, the rope is too long. If the handles don't reach your chest, the rope is too short.
That's it. You can size your jump rope in under two minutes using this method.
Answer Block: How Do You Size a Jump Rope?
Short answer: Stand on the centre of the rope with one foot and pull the handles up along your body. Beginners handles should reach armpit height. Intermediate jumpers mid-chest. For advanced jumpers, lower chest or bottom of sternum.
Why it matters: Incorrect rope length is the primary equipment cause of tripping and frustration. A properly sized rope clears your head with minimal jump height and lands behind your feet with enough clearance to pass smoothly under.
Quick reference: When in doubt, start longer. You can always shorten a rope, but you can't add length back once it's cut.

Why Beginners Need Longer Ropes
If you're new to jumping, size your jump rope on the longer end of the range. Here's why.
Longer ropes are more forgiving
Timing errors are inevitable when learning. A longer rope provides a wider window for the rope to pass under your feet. When your timing is slightly off, a longer rope still clears. A shorter rope catches your feet.
Longer ropes move slower
A longer rope has more arc, which means it takes slightly longer to complete each rotation. This slower pace gives beginners more time to react and coordinate their jump timing.
Longer ropes provide better feedback
When learning, you need to see and feel where the rope is in space. A longer rope creates a bigger visual arc and produces more audible feedback when it hits the ground. This sensory information helps your brain develop the timing patterns necessary for smooth jumping.
The progression principle
Start with handles at armpit height. As your coordination improves over weeks and months, you can gradually shorten the rope. This progression is natural—don't fight it by starting too short.
Most beginners who "can't jump rope" are actually using ropes that are too short for their current skill level. When they size your jump rope correctly, the improvement is immediate and dramatic.
Why Advanced Jumpers Use Shorter Ropes
As skills develop, shorter ropes offer advantages that outweigh the reduced margin for error.
Shorter ropes move faster
A shorter arc means faster rotation. For speed-focused training and double-unders (two rotations per jump), a shorter rope is essential. You simply can't rotate a long rope fast enough for advanced techniques.
Shorter ropes require less energy
Less rope length means less rope weight traveling through each rotation. Over a long workout, this energy savings adds up. Advanced jumpers conserve effort by eliminating unnecessary rope length.
Shorter ropes improve precision
A shorter rope demands better timing and tighter technique. This precision requirement, while challenging initially, creates cleaner movement patterns and more efficient jumping over time.
The trade-off
Shorter ropes punish timing errors more severely. If you shorten your rope before your skills warrant it, you'll trip more frequently and potentially develop bad habits (jumping too high) to compensate.
The rule: size your jump rope for your current ability, not the ability you want to have. Shorten gradually as skills genuinely improve.

How to Adjust Different Rope Types
Different rope constructions require different adjustment methods. Here's how to size your jump rope based on what type you own.
Beaded ropes
Beaded ropes (like the Elevate Dignity Beaded Rope) use a cord running through plastic beads with a washer or knot system inside the handles.
To shorten:
- Remove the cap or end from one handle
- Slide beads off the cord until desired length is reached
- Retie the knot or reposition the washer
- Replace the cap
- Repeat on the other side, removing equal numbers of beads
Save removed beads—you may want to add length back later.
PVC speed ropes
PVC/vinyl speed ropes typically use a snaplock or screw system inside the handles.
To shorten:
- Locate the adjustment mechanism (usually visible when you look into the handle end)
- Release the lock or unscrew the cap
- Pull the cord through to desired length
- Re-engage the lock or replace the cap
- Cut excess cord with scissors if the rope has no adjustment mechanism
- Repeat on both sides equally
Wire/cable ropes
Steel cable ropes require more permanent adjustment.
To shorten:
- Measure carefully before cutting—you cannot undo this
- Use wire cutters (not scissors) to cut the cable
- Some ropes have set screws that clamp the cable; loosen, adjust, and retighten
- Add cable end caps if included to prevent fraying
Wire ropes cannot be lengthened once cut. Size your jump rope conservatively and test before making permanent cuts.
Weighted ropes
Weighted ropes often have non-adjustable lengths or limited adjustment range. Check manufacturer instructions. Some weighted ropes come in specific size ranges (S/M/L) rather than being infinitely adjustable.
Signs Your Rope Is Too Long
If you experience these issues, your rope is likely too long. Shorten it and retest.
The rope hits the ground far in front of your feet
A properly sized rope lands just behind your toes. If you see the rope hitting the ground 30cm or more in front of you, there's excess length creating unnecessary slack.
You feel a "lag" or delay in the rotation
The rope should move in a smooth, continuous arc. If you feel the rope hesitate or pause at the bottom of each rotation, it's dragging on the ground due to excess length.
You trip despite jumping high enough
This is the classic too-long symptom. You clear the rope with your jump, but the excess length creates a loop that catches your feet on the descent. Frustrating and confusing until you recognise the cause.
Your arms drift outward to take up slack
If you notice your hands moving away from your body during jumping, you're unconsciously compensating for excess rope length. This creates inefficient movement patterns and wastes energy.
The rope feels "heavy" or sluggish
Extra rope length adds weight and air resistance to each rotation. If the rope feels harder to turn than it should, excess length may be the cause.
Signs Your Rope Is Too Short
These symptoms indicate you need to add length or replace your rope with a longer option.
You have to jump unusually high to clear the rope
Proper technique involves small hops of 2-3cm. If you're jumping 10cm or higher just to clear the rope, it's too short for your current skill level.
The rope frequently hits your head or catches on your hair
A too-short rope passes too close to your body, clipping your head or getting tangled in hair. Proper length provides adequate clearance above your head.
You feel rushed or panicked during each rotation
A too-short rope demands faster timing than your skills can deliver. If every rotation feels like a race against the rope, length is likely the issue.
Your jumps feel "cramped" or constrained
Proper jumping should feel rhythmic and relaxed. If you feel like you're contorting your body to fit the rope's arc, the rope is too short.
You can't slow down without tripping
A properly sized rope allows comfortable jumping at various speeds. If slowing down causes immediate tripping, the rope lacks the length for relaxed-pace jumping.

The Sizing Progression: From Beginner to Advanced
Here's how to size your jump rope as your skills develop over time.
Week 1-4: Learning phase
Size your jump rope with handles at armpit height. Prioritise successful rotations over optimal efficiency. Trips should decrease steadily as coordination develops.
Month 2-3: Developing consistency
Once you can complete 50+ consecutive jumps regularly, consider shortening by 5-7cm (about one fist width of handle height). Handles should now reach approximately mid-chest.
Test the new length. If tripping increases significantly, return to the longer setting. If tripping stays similar or improves slightly, keep the new length.
Month 4-6: Building efficiency
With 100+ consecutive jumps consistently achievable, another small shortening is appropriate. Handles reaching lower chest indicates optimal intermediate sizing.
At this stage, you'll notice the rope moving faster with less effort. Workouts become more efficient.
Month 6+: Advanced refinement
Experienced jumpers can size your jump rope with handles at or slightly below the sternum. This length supports fast footwork, double-unders, and advanced tricks.
Only shorten to this degree if you rarely trip during normal jumping and want to develop speed-focused skills.
Sizing for Specific Goals
Different jumping goals may warrant different lengths. You can size your jump rope based on your primary training focus.
Fitness and cardio focus
Mid-range sizing (chest height) works best. This length balances forgiveness with efficiency, allowing sustained workouts without excess tripping or wasted energy.
Learning tricks and freestyle
Slightly longer (upper chest to armpit) provides more time for trick execution. Crosses, side swings, and releases are easier with additional rope length that slows rotation.
Speed and double-unders
Shorter sizing (lower chest to sternum) enables the fast rotations required for multiple passes per jump. Only appropriate for experienced jumpers with solid basic skills.
Mixed training
If you do various jumping styles, size for your most common activity. Consider owning two ropes at different lengths—one for learning
Frequently Asked Questions
Can I use a rope that's too long while I learn?
Yes, within reason. A rope that's 10-15cm too long is manageable and forgiving for beginners. A rope that's 30cm+ too long becomes difficult to control regardless of skill level. Size your jump rope in the longer end of the recommended range, not arbitrarily long.
What if I'm between sizes?
Go longer. You can always shorten a rope, but adding length is difficult or impossible depending on rope type. Starting slightly long and adjusting down as skills improve is the safest approach.
Should tall people use longer ropes?
The sizing method automatically accounts for height because you measure against your own body. A 190cm person and a 160cm person both size to armpit height—the absolute rope length differs, but the relative sizing is identical.
How do I size a rope I'm buying online?
Most quality jump ropes are adjustable or come in size ranges. Look for ropes labelled as adjustable or check size charts. If buying non-adjustable ropes, measure your height and compare to manufacturer recommendations. When in doubt, contact the seller before purchasing.
My rope doesn't seem adjustable. What do I do?
Some budget ropes have fixed lengths. If the rope is too long, you may be able to tie knots below the handles to shorten it (not ideal but functional). If too short, the rope needs to be replaced. This is why adjustable ropes are worth the slightly higher cost.
How often should I resize my rope?
Reassess every 4-8 weeks during the first six months of jumping. As skills stabilise, sizing changes become less frequent. Most experienced jumpers find their ideal length and rarely adjust afterward unless changing rope types or training goals.
The Bottom Line: Size Your Jump Rope Before You Blame Your Skills
Ninety percent of beginners who struggle with jump rope have an equipment problem, not a coordination problem. The rope is too long, too short, or both (different sides adjusted unevenly).
Taking two minutes to properly size your jump rope eliminates the most common cause of tripping and frustration. It's the fastest path from "I can't do this" to "this actually works."
Stand on the rope. Pull up the handles. Check the height. Adjust if needed. Then start jumping.
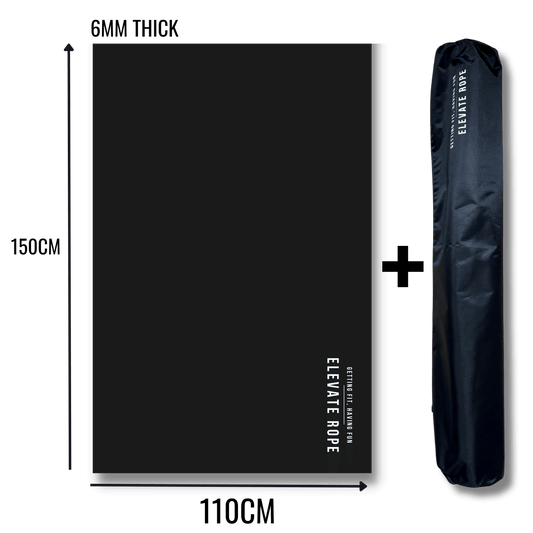
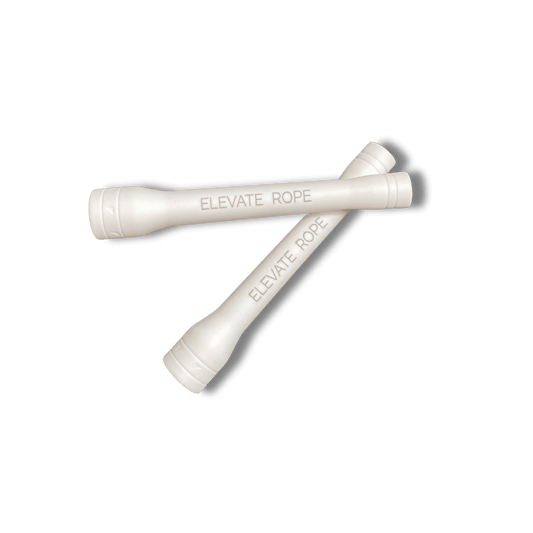
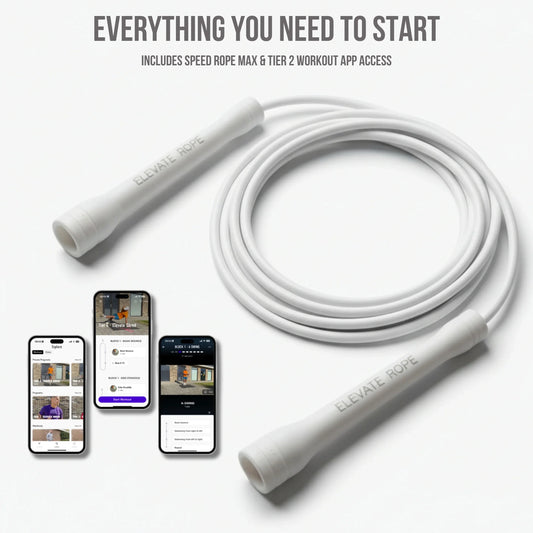
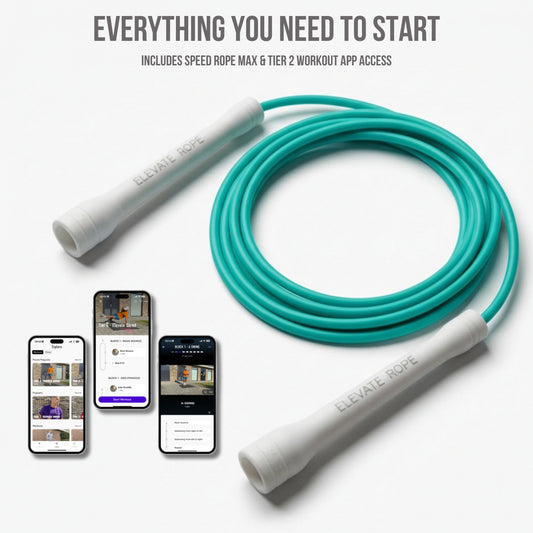
If you're ready to start with properly sized equipment, our complete guide to jump rope for home cardio covers everything from technique to workout programming. The Elevate Dignity Beaded Rope features an easy washer adjustment system that lets you size perfectly in seconds—and the beaded design provides ideal feedback for beginners learning timing. For those ready for speed work, the Elevate Speed Rope MAX offers tool-free length adjustment with a snaplock system.
The right length changes everything. Get it right before your next session.
Sources
Rope sizing recommendations align with guidelines from certified jump rope coaches and competitive jump rope organisations including the World Jump Rope Federation. Biomechanical principles regarding rope arc, rotation speed, and timing windows draw from physics of rotational motion and sport-specific coaching literature. Progression timelines reflect typical skill development patterns observed across beginner jump rope programs.