


Learning how to jump rope for beginners is simpler than most adults expect. You need a rope sized to your height, about one square metre of clear space, and ten minutes. This guide walks you through every step — from holding the handles correctly to landing your first 100 consecutive jumps — with no gym and no app required.
What you'll learn
- Why adults struggle (and what actually fixes it)
- Choose the right jump rope before you start
- How to jump rope: 7 steps for complete beginners
- The 4 most common beginner mistakes
- What your first 10-minute session looks like
- Frequently asked questions
- Next steps
Why Do Adults Struggle to Jump Rope?
Most adults who try jump rope and quit within the first week share one thing in common. They used the wrong rope.
A lightweight, thin PVC cord gives your brain almost no feedback about where the rope is mid-air. Your timing is based on guessing. You trip. You feel like you have "bad coordination." You stop.
This is not a coordination problem. It is an equipment problem.
Children learning jump rope at school typically use beaded ropes. Those ropes are slower, heavier, and give clear physical feedback with every rotation. Adults, for some reason, often buy the cheapest speed rope available and then blame themselves when it does not work.
The basics of jump rope take under an hour to grasp with the right equipment and clear instructions. That is what this guide is for.
Short answer: Adults struggle with jump rope because lightweight ropes provide no feedback. Your nervous system cannot track where a thin, fast rope is. Switch to a beaded or weighted rope and the learning curve shortens dramatically.
Why it matters: Choosing the right jump rope before your first session prevents the frustration that causes most beginners to quit within a week.
Best next step: Read the rope selection section below before attempting your first jump.
Choose the Right Jump Rope Before You Start
Not all jump ropes are suitable for beginners. The wrong choice makes the learning process far harder than it needs to be.
Why beginners should start with a beaded rope
A beaded jump rope has one clear advantage over every other rope type for a new jumper: it tells you where it is.
The 2.5 cm PVC beads catch air during rotation. This creates a slight drag that slows the rope to a learnable speed. You can feel the rope's position through your hands and arms at every point in the rotation. When the beads hit the ground, the rhythmic sound acts as a natural timing signal. Your brain synchronises with that sound faster than it can process visual information.
This is not marketing language. It is why jump rope coaches recommend beaded ropes to beginners across every skill discipline, from fitness to freestyle to double dutch.
The 3.5 mm polycord on a quality beaded rope is 17% thicker than industry standard. That thickness translates to better mid-air stability. The rope holds its shape at the top of the arc instead of collapsing. That matters when you are still learning to read the rope's rhythm.
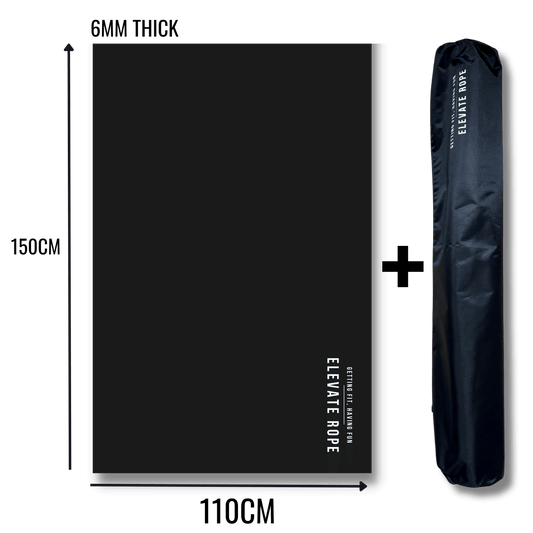
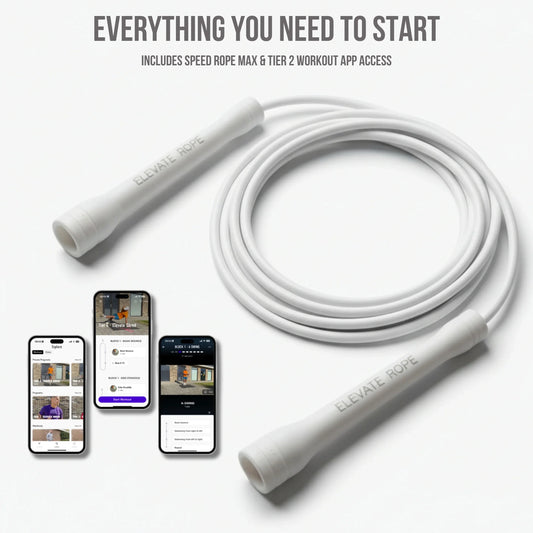
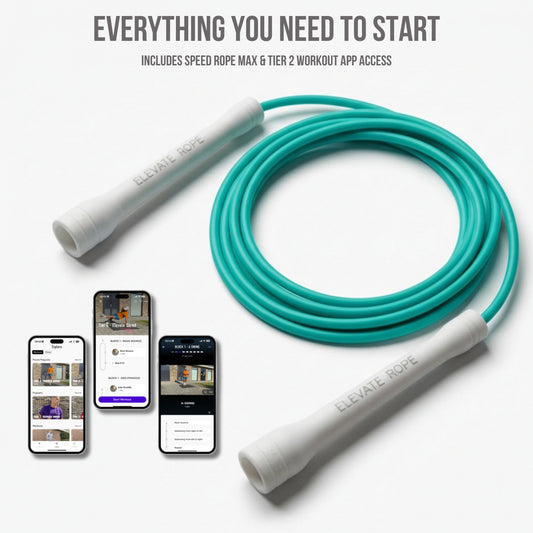
→ TheElevate Dignity Beaded Ropeis the recommended learning rope. Adjustable to 3 metres, fits children through tall adults. No subscription — free app with 100+ beginner workouts included.
When to move to a speed rope
Once you can do 50 consecutive jumps with good form, you are ready to explore a faster rope. At that point, you have built the timing and coordination that allows a lighter jump rope to work with you rather than against you.
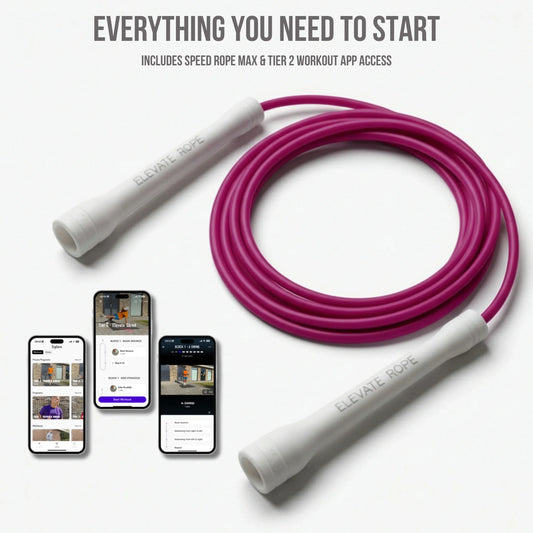
→ When you outgrow the beaded rope, theElevate Speed Rope rangeis the natural next step. Lighter, faster, built for cardio and HIIT.
Does rope sizing matter?
Yes. A rope that is too short forces you to hunch and rush every jump. A rope that is too long is uncontrollable and tangles constantly.
The general rule: stand in the centre of your jump rope and pull both handles up. The handles should reach roughly armpit height. This varies with technique, but it is the right starting point for a beginner.
For a full height-to-length chart, see the complete jump rope sizing guide.

How to Jump Rope: 7 Steps for Complete Beginners
Work through these in order. Each step builds on the last.
1. Size and adjust your rope
Stand in the centre of your jump rope with both feet together. Pull both handles upward. The tips of the handles should reach armpit height — not shoulder, not waist. Most beaded ropes adjust with a simple washer-and-scissors system. Cut a small amount at a time. You cannot add cord back.
2. Hold the handles correctly
Hold one handle in each hand. Your grip should be light, not clenched. Your thumbs face up. The handles sit in the lower half of your palm, not your fingertips. Your elbows stay close to your sides — roughly 3 to 5 cm away from your ribcage. Your wrists do the rotation work, not your shoulders. This is the most common mistake adults make: rotating from the shoulder turns your jump rope into a short, uncontrollable arc.
3. Find your posture before you jump
Stand tall. Feet shoulder-width apart. Slight bend in the knees. Weight on the balls of your feet, not your heels. Chin level, gaze forward. This is the position you return to after every jump. Practice standing in this position for 30 seconds before you pick up the rope. Your body needs to know what it feels like.
4. Practice the jump without the rope
Before you introduce the jump rope, jump in place with correct posture. Jump only 2 to 3 cm off the ground. Land softly on the balls of both feet. Your heels do not touch the ground between jumps. Knees stay slightly bent on each landing. Do 20 jumps in a row without the rope and confirm you can do it consistently. Then pick up the rope.
5. Start the rope from behind you
Hold both handles with the rope resting on the ground behind your feet. Swing the rope forward over your head in one smooth arc. Let it hit the ground in front of you. Do this five times without jumping — just feel the rotation. Notice how the beads signal the rope's position through your hands. That feedback is what you will use to time every jump.
6. Take your first single jump
Start the rope from behind you as in Step 5. As the rope comes over your head and descends in front, jump once — just 2 to 3 cm. Let the rope hit the ground and stop. Reset. Do this ten times. One jump, stop, reset. You are not trying to string jumps together yet. You are building the timing connection between what you hear and feel from the rope and the moment you leave the ground.
7. String jumps together
Once single jumps feel consistent, attempt two jumps in a row. Then three. Use the sound and feel of the beads hitting the ground as your timing signal — not your eyes. Jump only on the beat. When you trip, reset immediately and start again. There is no value in stopping to think about what went wrong. Reset and go. Most beginners reach 10 consecutive jumps within their first 15 minutes using a beaded jump rope. Fifty jumps typically comes within the first few sessions.
Short answer: The fastest path to consistent jump rope is: size your rope, learn wrist rotation, practice the jump without the rope, then add the rope back in single jumps before stringing them together.
Why it matters: Skipping steps 2 to 4 is why most adults fail. They pick up the jump rope and try to string 20 jumps together before they have the posture, grip, or timing foundation in place.
Best next step: Use a beaded jump rope for all of the above. The feedback it provides shortens every step significantly.
The 4 Most Common Beginner Mistakes
Jumping too high
Most beginners jump far higher than necessary. A jump rope only requires 2 to 3 cm of clearance. Jumping high wastes energy and makes each landing harder on your joints. Stay low. The rope passes under your feet, not under your knees.
Rotating from the shoulders
When the shoulders drive the rotation, your jump rope arc becomes tight and fast — far harder to time. Keep your elbows in at your sides and let your wrists do the work. Small wrist circles. The handles should move in a small arc, not a wide sweeping motion.
Looking down at the rope
Looking down disrupts your posture and changes the arc of the jump rope. Fix your gaze straight ahead at a point on the wall. Trust the feedback from your hands and the sound of the beads hitting the ground. That is more reliable than your eyes for timing.
Using the double bounce
The double bounce — two small hops per rotation — is a natural beginner habit. It slows your jump rope rhythm and builds a timing pattern you will need to unlearn. Practice single-bounce timing from day one, even if it means doing five jumps and stopping. It will feel awkward at first. It becomes natural faster than you expect.
What Your First 10-Minute Jump Rope Session Looks Like
This is a practical first session. No warm-up required beyond two minutes of light movement beforehand.
| Time | Activity | Goal |
| 0:00 – 1:00 | Jumping without the rope | Establish posture and landing pattern |
| 1:00 – 3:00 | Single jumps (start–jump–stop–reset) | Build timing connection with the rope |
| 3:00 – 6:00 | Strings of 2–5 jumps with rest between | Link the timing across consecutive rotations |
| 6:00 – 9:00 | Longer sets: attempt 10–20 consecutive jumps | Build rhythm without stopping |
| 9:00 – 10:00 | One final set at your personal best length | Finish with a win, not a failure |
Ten minutes is a complete session for day one. You will be more tired than you expect. Jump rope activates your calves, ankles, core and shoulders simultaneously. Research has shown that jump rope can deliver cardiovascular gains in a fraction of the time of jogging. That efficiency is real — which means the fatigue is real too. Stop before you think you need to.
If you want a structured 30-day progression from here, see the complete beginner jump rope guide.
Frequently Asked Questions
How long does it take to learn jump rope as a beginner?
Most adults reach 10 consecutive jumps in their first 15-minute session with a beaded jump rope. Fifty jumps typically comes within two or three sessions. The double-under — where the rope passes under your feet twice per jump — takes longer and requires a speed rope. As a beginner, that is not your goal yet. Focus on building clean single-bounce timing first.
Is jump rope bad for your knees?
When performed with correct form, jump rope is lower impact than running. A 2019 study published in the journal Gait & Posture found that jumping rope places less load on the hip and knee joints than running. The NIH classifies it as protective for hip and knee joints when done correctly. The key requirements are landing on the balls of your feet, keeping jumps low (2–3 cm), and using a forgiving surface like a rubber mat or wooden floor rather than concrete.
What is the best jump rope for a complete beginner?
A beaded jump rope is the clearest recommendation for a complete beginner. The beads slow the rope to a learnable speed, provide physical feedback through your hands and arms, and create an auditory timing signal when they hit the ground. Once you can consistently do 50 jumps, a speed rope becomes an option. See the full beaded vs speed vs weighted rope comparison if you want to understand the differences in detail.
What surface should I jump rope on?
A rubber mat, sprung wooden floor, or foam tile is the best surface for a beginner. These surfaces absorb impact and protect your ankles and knees during the learning phase. Concrete is acceptable but harder on the joints and rougher on the rope cord. Grass is problematic — uneven ground makes timing inconsistent and the rope catches on longer grass. Avoid carpeted surfaces where possible; they create drag on the rope and unpredictable trip points.
How do I stop tripping on the jump rope?
Tripping on a jump rope is almost always one of three things: the rope is too light (no feedback), the jump is too high (too much time in the air after the timing window), or the wrists are rotating too wide (the rope arc is too tight). The fastest fix is to switch to a beaded jump rope, reduce your jump height, and keep your elbows pressed in at your sides. Most tripping problems disappear within one session once those three variables are corrected.
Do I need an app to learn jump rope?
No. The steps in this guide are everything you need to start. If you want structured beginner workouts after your first week, the free Elevate App includes 100+ jump rope sessions and tutorials. There is no subscription fee and no premium tier — it is included with any Elevate rope. But the app is a supplement, not a requirement. The rope is the tool. Everything else follows.
Next Steps: Where to Go from Here
You have the form. You have the first session structure. Here is how to move forward based on where you are.
If you do not have a rope yet, the Dignity Beaded Rope is the right starting point. It is adjustable for any height, built to last, and comes with free app access. One purchase. No ongoing fees.
If you want a rope plus a training programme, the Ascent Bundle includes the beaded rope plus the Speed Rope — the natural progression once you have the basics dialled in.
Once you can do 50 consecutive jumps, the technique conversation shifts from basics to form optimisation, conditioning, and rope selection. The jump rope type comparison covers that next decision in detail.
Jump rope is simple. It just requires starting with the right rope and working through the steps in order. Most people who struggle did neither of those things. You now have both.
Sources
- Ogunyemi, O. et al. (2019). "Kinematic and kinetic analysis of jump rope exercise." Gait & Posture, 68, 103–108. pubmed.ncbi.nlm.nih.gov/30469052
- Ito, T. et al. (2022). "Bounce rope-skip is hip and knee protective due to lower hip and knee joint loads compared to run." National Institutes of Health / PubMed. pubmed.ncbi.nlm.nih.gov/35219607
- National Strength and Conditioning Association (NSCA). "Jump Rope Training." NSCA Basics of Strength and Conditioning Manual. nsca.com/education/articles/kinetic-select/jump-rope-training
You May Also Like
- Jump Rope for Beginners: The Complete Guide to Starting (and Sticking With It)
- Beaded vs Speed vs Weighted Rope: Which Should a Beginner Buy?
- How to Size a Jump Rope (and Why the Wrong Length Ruins It)
- Do 10-Minute Workouts Actually Do Anything?
- The Real Reason You Can't Stick to a Workout Routine
- Your First 30 Days: A Beginner Jump Rope Plan Without the Streak Pressure