


Introducción: Por qué las periostitis frenan a los saltadores
Pocas cosas frustran más a los atletas de cuerda para saltar que las periostitis. Ese dolor agudo y persistente a lo largo de la parte frontal de la pierna inferior puede detener una sesión de entrenamiento en seco. Aunque las periostitis suelen estar relacionadas con el sobreentrenamiento, uno de los factores más pasados por alto es la pobre movilidad de tobillos y espinillas.
Tus tobillos son tu primera línea de absorción de impactos al saltar la cuerda. Si no pueden flexionarse y extenderse eficientemente, ese impacto se traslada a tus espinillas, tensionando músculos y tejido conectivo. Al mejorar la movilidad de tobillos y espinillas para saltar la cuerda, puedes mantener tus piernas inferiores sin dolor y funcionando al máximo.
En esta guía, cubriremos:
- Por qué la movilidad es importante para la prevención de las periostitis
- Las demandas clave de movilidad en la cuerda para saltar
- Ejercicios para fortalecer y proteger tus piernas inferiores
- Cómo integrar la movilidad en tus rutinas de calentamiento y recuperación
¿Qué causa shin splints en atletas de salto con cuerda?
- Sobreuso y progresión rápida — Aumento demasiado rápido del volumen de saltos.
- Mecánica de aterrizaje deficiente — Aterrizajes rígidos sin flexión del tobillo.
- Tibial anterior débil — No puede absorber eficazmente el impacto repetitivo.
- Dorsiflexión limitada del tobillo — Reduce la absorción de impactos, estresa las espinillas.
- Superficies duras de entrenamiento — El concreto o suelos sin acolchado amplifican la fuerza.
💡 Consejo profesional: La falta de movilidad no solo causa shin splints — también puede limitar el control de la altura del salto, la velocidad y la ejecución de trucos.
Demandas clave de movilidad para tobillos y espinillas saludables
- Dorsiflexión del tobillo — Permite un aterrizaje y despegue suaves.
- Flexión plantar del tobillo — Potencia saltos explosivos y el paso de la cuerda.
- Fuerza del tibial anterior — Estabiliza la espinilla durante impactos repetidos.
- Flexibilidad de pantorrilla y soleo — Previene la tensión compensatoria.
- Control del arco del pie — Mantiene el equilibrio y la alineación durante los saltos.
Calentamiento de movilidad para la prevención de shin splints
Hazlo antes de cada sesión de salto con cuerda (5–7 minutos en total).
- Círculos de tobillo — 10 en cada dirección por pie.
- Estiramiento dinámico de pantorrilla — Da un paso atrás, presiona el talón hacia abajo, pulsa 10 veces.
- Elevaciones de dedos — Levanta los dedos manteniendo los talones en el suelo, 15 repeticiones.
- Balanceo de talón a punta — Desplaza el peso hacia adelante y atrás, 20 segundos.
- Equilibrio en una pierna con movimiento de tobillo — 20 segundos por pierna.
Ejercicios de fuerza y estabilidad para la protección de la parte inferior de la pierna
Realizar 2–3 veces por semana.
- Elevaciones de Tibial contra la Pared — 3 series x 15 repeticiones
- Elevaciones Excéntricas de Pantorrilla — 3 series x 10 repeticiones
- Dorsiflexión con Banda de Resistencia — 3 series x 12 por pierna
- Ejercicios de Equilibrio en Bosu Ball — 3 x 20 segundos por pierna
Flexibilidad y movilidad de recuperación para tobillos y espinillas

Usar después del entrenamiento o en días de recuperación.
- Estiramiento de Espinilla Sentado — Siéntate sobre los talones (o superficie elevada) durante 20–30 segundos.
- Estiramiento de Dorsiflexión de Tobillo Arrodillado — Rodilla sobre los dedos sin levantar el talón.
- Rodillo de Espuma para Pantorrillas y Espinillas — 30 segundos por área.
- Ejercicio del Alfabeto con el Tobillo — Traza letras con el pie para mejorar el rango de movimiento.
Ajustes de técnica para reducir el riesgo de periostitis tibial
- Mantén los saltos bajos — 1–2 pulgadas del suelo.
- Aterriza suavemente sobre las bolas de los pies.
- Mantén una ligera flexión en las rodillas.
- Evita aterrizar con los dedos del pie levantados (estrés excesivo en la espinilla).
Recomendaciones de equipo para la prevención de periostitis tibial
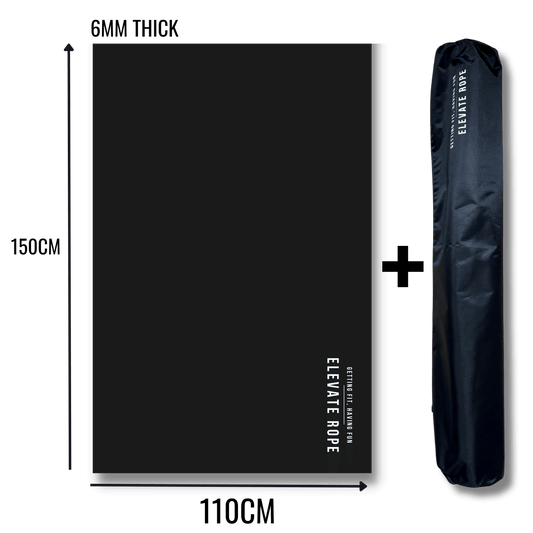
- Elevate Performance Mat — Amortigua el impacto en suelos duros.
- Zapatillas de Entrenamiento Cruzado de Apoyo — Protege los tobillos y los arcos.
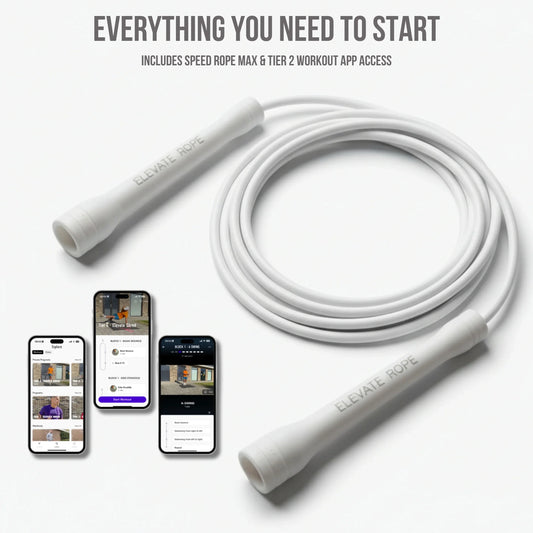
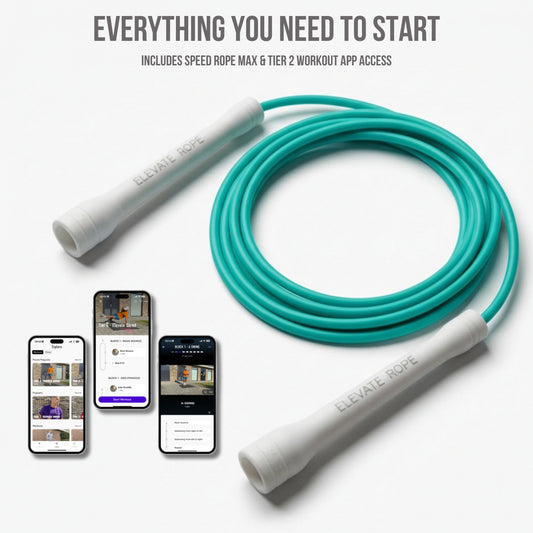
- Lightweight PVC Rope — Reduce el impacto por salto.
Plan Semanal de Movilidad para la Espinilla
Día 1 (Día de Entrenamiento) — Calentamiento de Movilidad + Sesión de Saltos + Estiramiento Post-Entrenamiento
Día 2 (Recuperación) — Foam Rolling + Ejercicio del Alfabeto para el Tobillo + Trabajo Ligero de Equilibrio
Día 3 (Día de Entrenamiento) — Calentamiento de Movilidad + Sesión de Saltos + Fuerza de Pantorrillas
Día 4 (Descanso) — Estiramientos Suaves de Espinilla y Tobillo
Errores Comunes que Conducen a la Periostitis
- Omitir el calentamiento antes de sesiones intensas
- Saltar sobre concreto sin absorción de impactos
- Ignorar la rigidez de las pantorrillas después de los entrenamientos
- Aumentar el volumen sin acondicionar las piernas inferiores
Conclusión
Las periostitis no tienen que ser el fin de tu progreso con la cuerda de saltar. Al mejorar la movilidad del tobillo y la espinilla para la cuerda de saltar, no solo evitarás el dolor sino que también aumentarás tu rendimiento, control y resistencia al salto.
Entrena tu movilidad como entrenas tus trucos: de manera constante y con intención.


